How to Set Up and Manage Your Komier Settings — Configure Your Account for Your Business
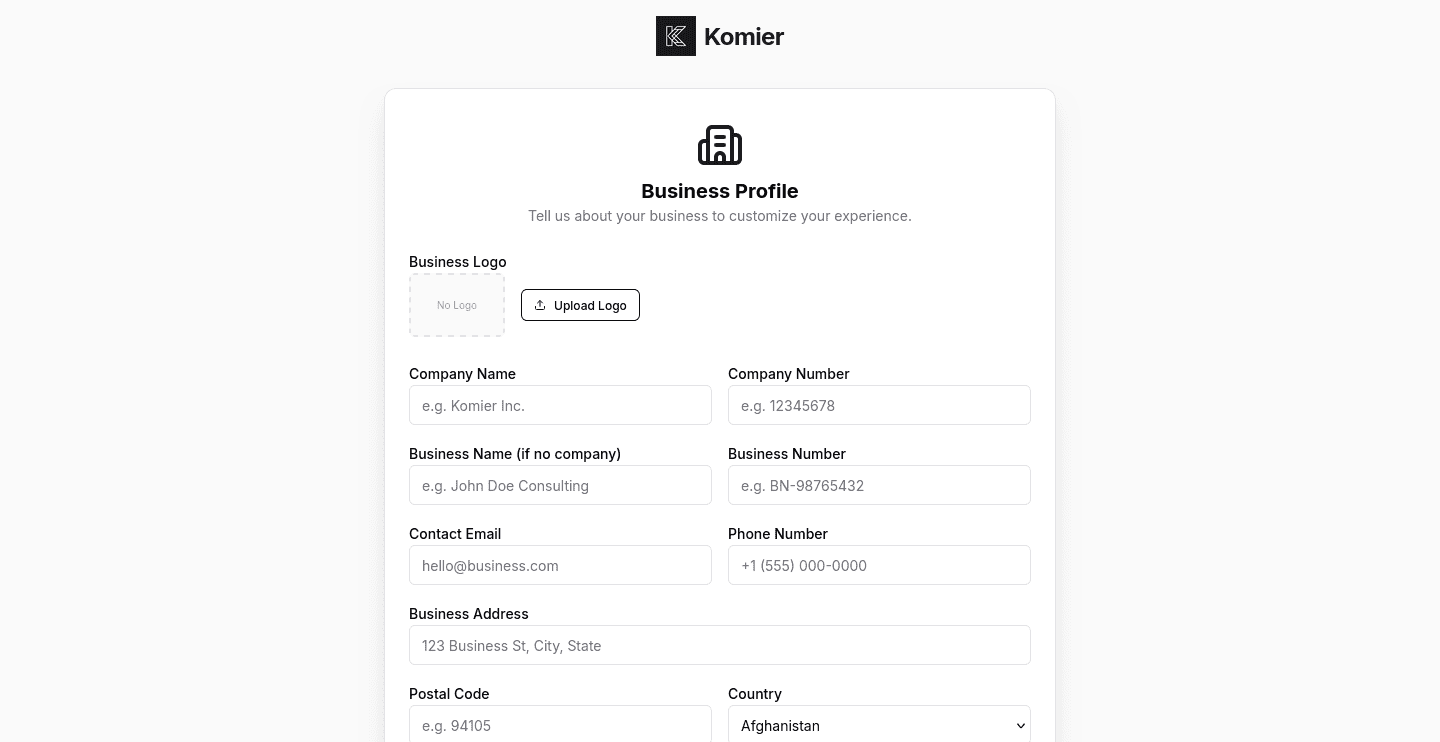
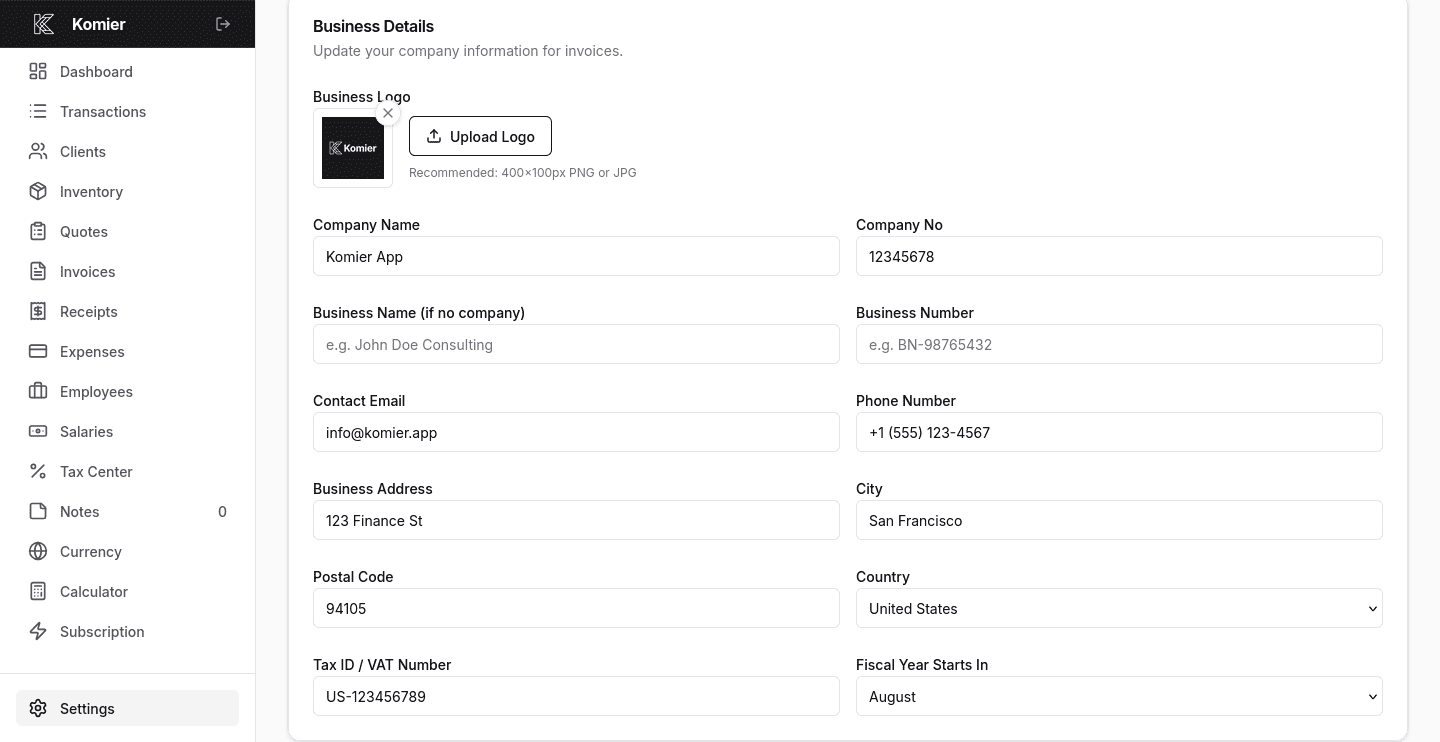
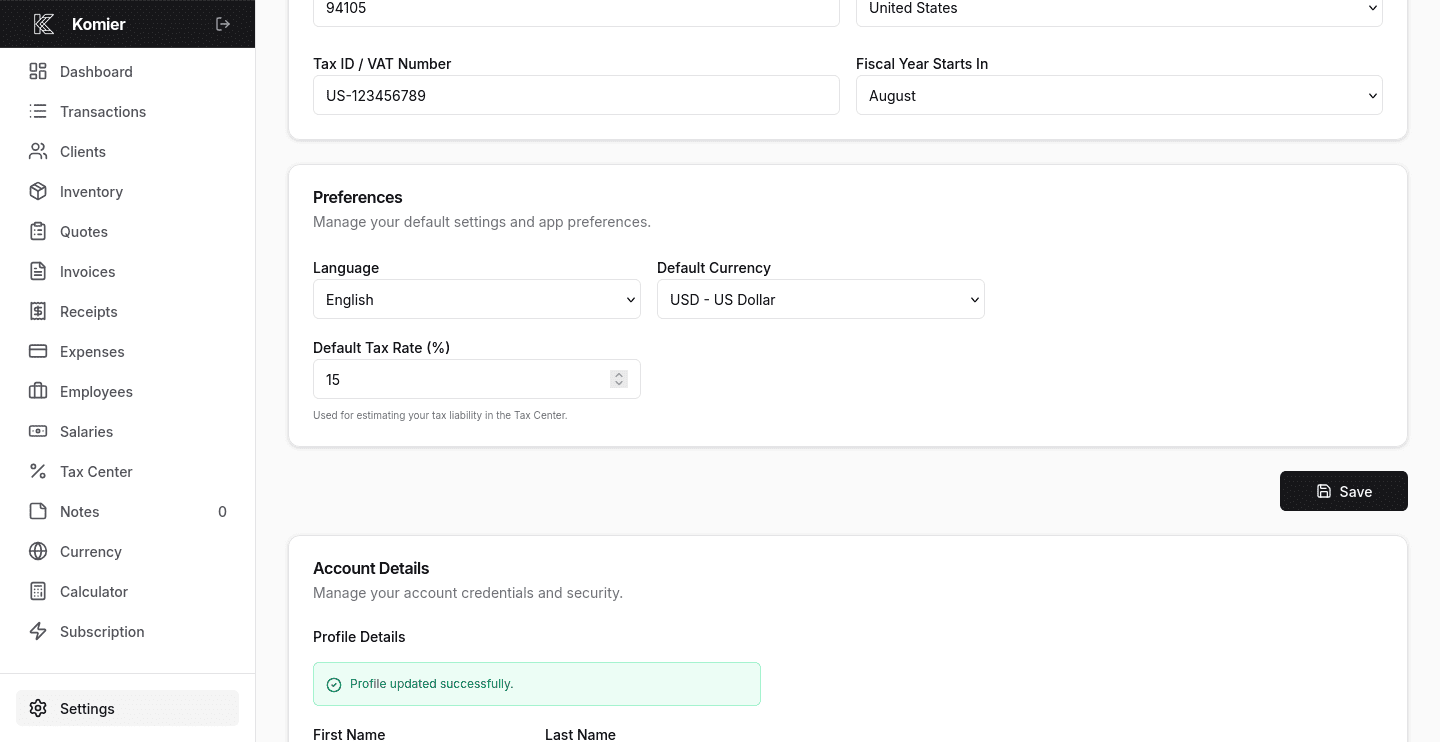
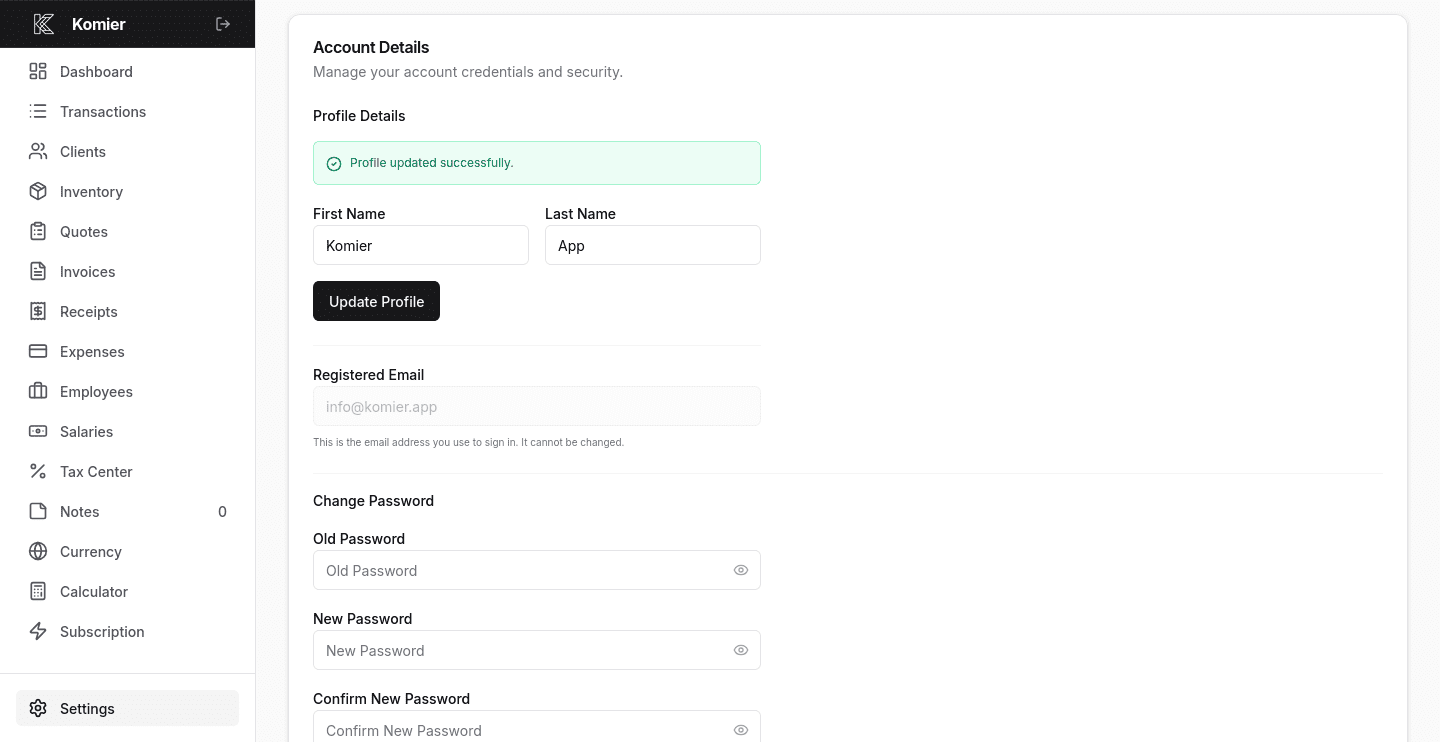
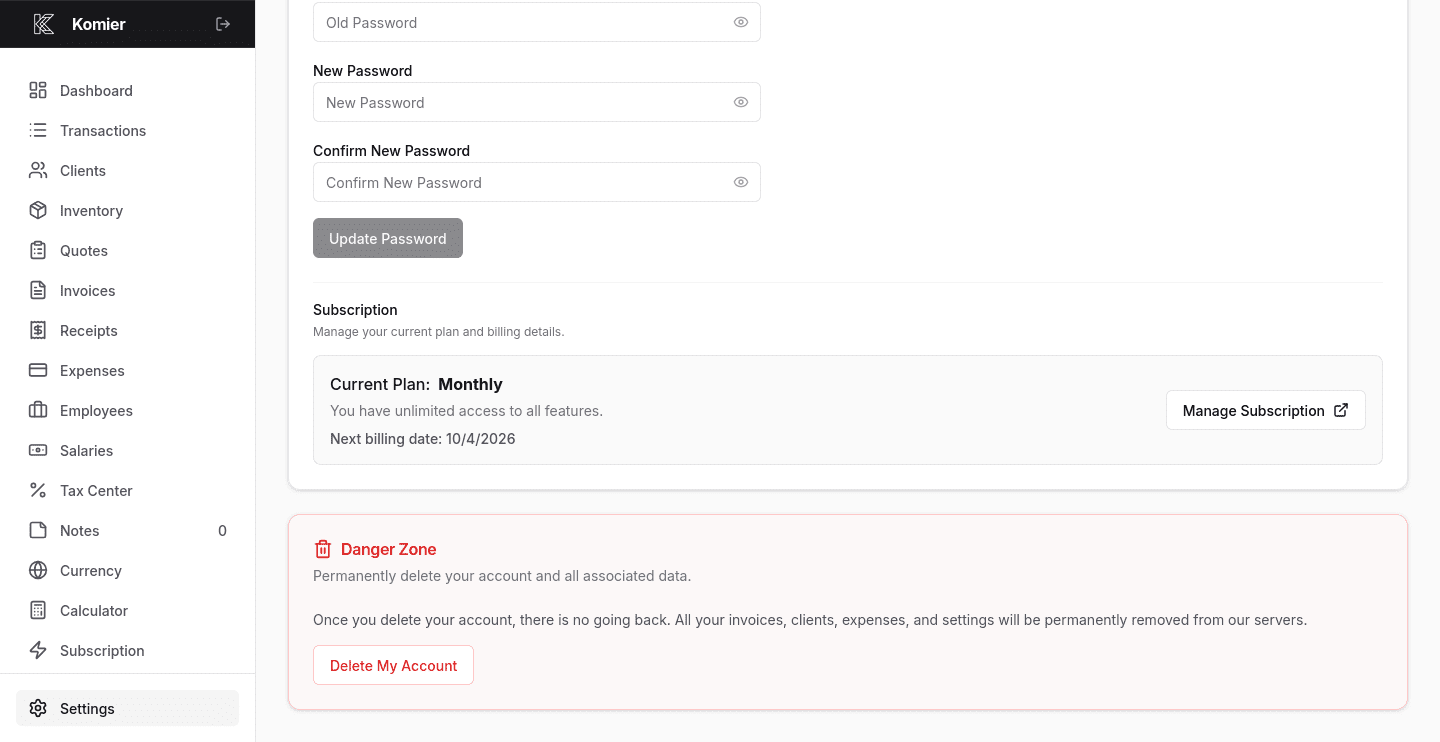
Your Komier settings are where you configure the platform to reflect your business — your name, your logo, your currency, your tax rate, your security preferences. Getting your settings right at the start means every invoice you generate, every payslip you produce, and every dashboard figure you see is accurate to your actual business from day one.
This guide walks through every section of Komier settings, what each option does, and the recommended configuration for a clean, professional setup.
Onboarding
Upon signing up, you will be prompted to fill in your business profile, followed by an interactive tour of the dashboard.
How to Access Settings
If you skipped through the onboarding, you can access your settings by selecting Settings from the bottom of the left-hand navigation menu in your Komier dashboard.
Settings is organised into clearly labelled sections — work through each one when you first set up your account, and return to individual sections whenever something in your business changes.
Business Profile
Your business profile is the foundation of every document Komier generates. The information here appears automatically on your quotes, invoices, receipts, and payslips — so getting it right means every document you send looks professional and accurate from the first one.
Company Name | Your official company or trading name. Appears at the top of all quotesm invoices, receipts, and payslips. If you don’t have a company, fill the Business Name instead. |
Business Logo | Upload your logo in PNG or JPG format. It appears prominently on all generated documents, giving them a professional, branded appearance. |
Business Address | Your registered or operating address. Appears on invoices and formal documents. |
Contact Email | The email address clients and employees can reach you at. Appears on invoices and receipts. |
Phone Number | Optional — displayed on invoices if you want clients to be able to call you directly. |
Tax ID/ VAT Number | Your VAT number, GST registration, or equivalent. Required for tax-compliant invoicing in most jurisdictions. |
Fiscal Year | The month when your fiscal year starts. |
Pro Tip: Upload your logo before generating your first invoice. A logo takes your documents from looking like generic software output to looking like a real, professional business. It takes 30 seconds and makes a meaningful impression on clients.
Preferences
Under Preferences you can set up the default settings that will be used on your documents.
- Select your default dashboard language. Currently Komier supports only English and French, but we are already working to integrate more languages.
Set your home currency in Settings so that your dashboard, expense totals, and net profit figures always display in the currency you operate in locally.
Enter your applicable tax rate as a percentage. This might be your self-employment rate, income tax rate, GST rate, or VAT rate — whichever is most relevant to your business structure and jurisdiction.
Account Details
This is where you can manage your personal login details — the credentials you use to access Komier.
You can change your account password at any time. We recommend using a strong, unique password — at least 12 characters with a mix of letters, numbers, and symbols.
It is not possible to change the registered email.
Subscription
Pro Tip: Switch to annual billing if you plan to use Komier long-term. The discount is significant over 12 months and you gain access to priority support — which means faster response times when you need help.
Danger Zone
Manage your data rights and account deletion from the Danger Zone of Settings.
This is where you can permantely close your Komier account if you chose to.
All data is permanently deleted and irreversibly deleted from our servers on the spot. We cannot recover it after that point.
Pro Tip: If you decide to delete your account, make sure to download your data before proceeding.
10 minutes that will save you hours
If you have just signed up on Komier, give yourself a moment to work through Settings in this order to get your account fully configured before you start generating documents.
The entire setup process takes less than 10 minutes. Once complete, every document you generate in Komier — every quote, invoice, receipt, payslip, — will be correctly branded, accurately configured, and ready to share with clients and employees from the moment you create it.


